Format
Vector PDF, AI, EPS or SVG is preferred for label and packaging work. Raster images (PNG, JPG) should be sent at 300 DPI or higher at the final print size.
Bleed and safe area
Add 3mm bleed on all sides of the artwork. Keep text and important artwork inside a 3mm safe area from the cut line.
Cut lines
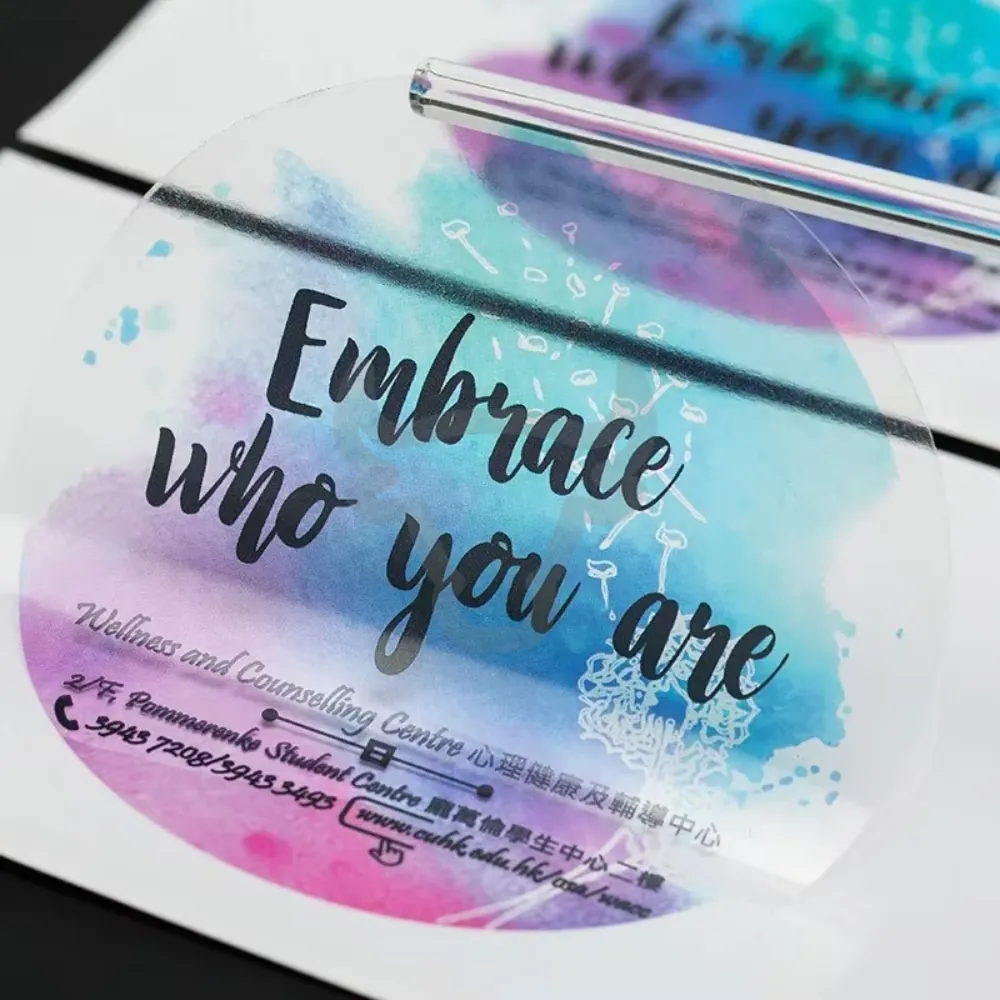
For die-cut shapes, share the cut line as a separate vector layer. For clear film stickers with a white-ink underlay, share the white layer separately.
Fonts
Outline any fonts before sending. If you cannot outline, share the font files with the artwork.
Multiple shapes
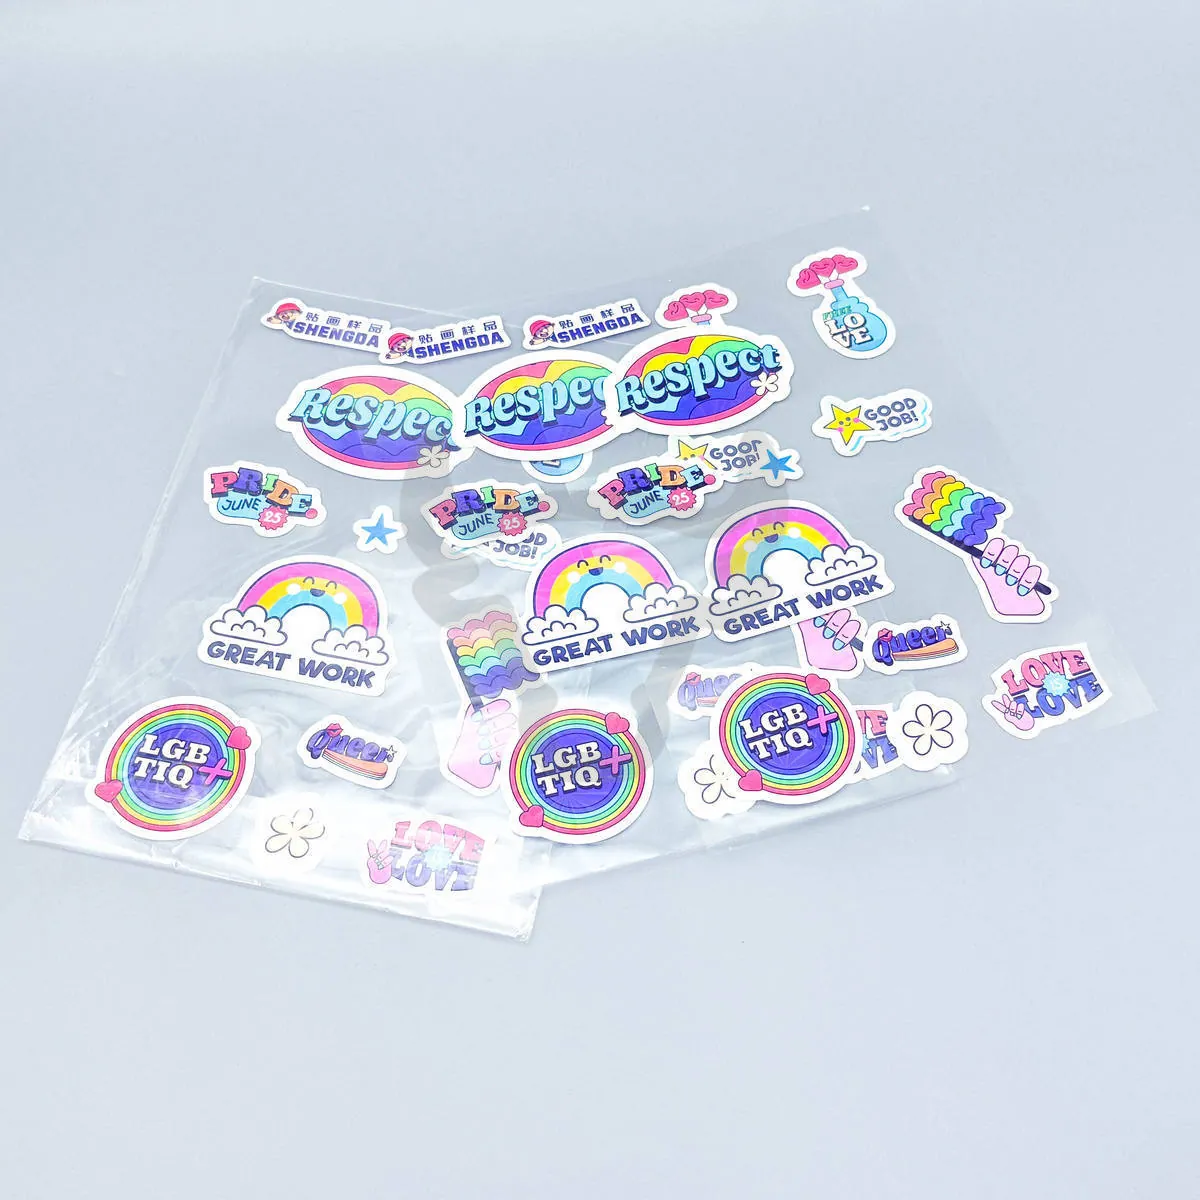
For sheet stickers with multiple shapes per batch, send one file per shape (or a single file with each shape on a labelled layer).
Colour and special layers
Use a consistent colour mode and include any colour reference that matters to the project. If the design uses white ink, foil, spot gloss, a cut path or variable data, keep each production instruction on a separate and clearly named layer. Do not flatten those instructions into the background artwork.
Check at finished size
Open the file at 100% and review the smallest text, thin lines, QR codes and details close to a cut or fold. A large design viewed on screen can hide problems that become obvious after reduction. For packaging, mark folds, seams, handles and glue areas so important content stays clear.
A clean handoff
- One approved artwork file for each product or shape.
- Finished dimensions written in the message as well as in the file.
- A preview image showing the intended orientation.
- Separate data sheet for names, numbering or other variable content.
- Notes that identify any white ink, foil, cut, fold or mounting layer.
Keep version names unambiguous. If a revised file replaces an earlier one, identify it as the current production version instead of sending several files with similar names.