Record three finished dimensions
Measure the finished bag as width, gusset depth and height. A photo or sketch should show which side is the front and where the opening sits. Also share what the bag is expected to carry so the paper and base construction can be reviewed together.
Choose the paper around appearance and handling
Common routes include kraft, recycled, coated and art papers. Kraft gives a natural fibre appearance. Coated and art papers provide a smoother print surface and can support lamination or selective decorative finishes.
Paper weight alone does not determine carrying performance. Bag size, folds, base reinforcement, handle attachment and the intended contents all contribute.
Confirm the handle construction
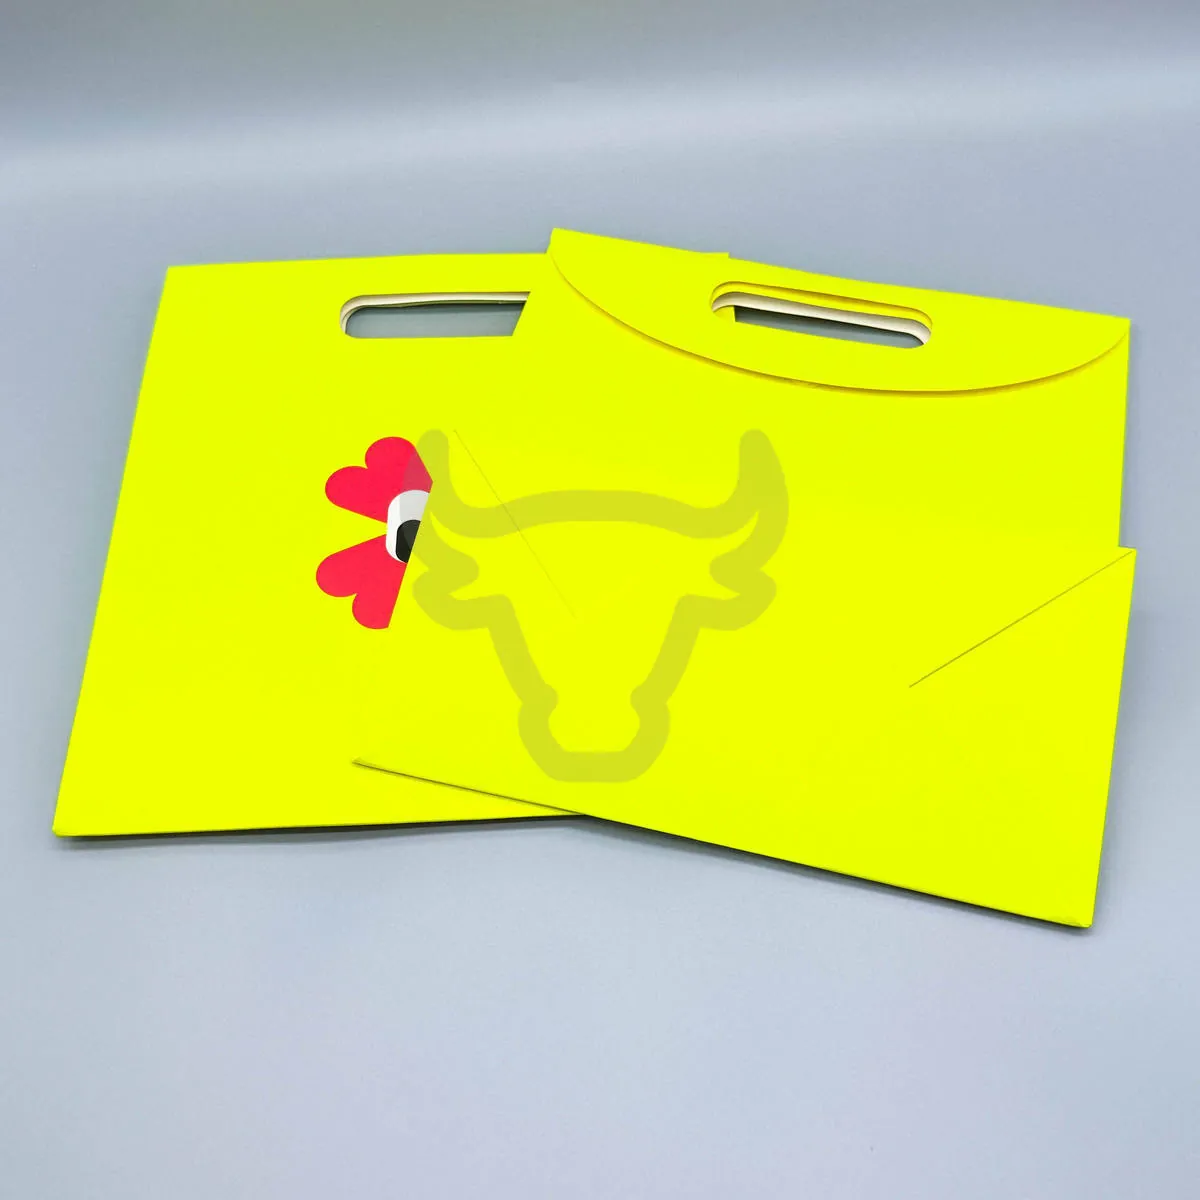
Typical handle routes include twisted rope, flat paper tape and die-cut openings. The handle colour, attachment position and any reinforcement should be shown on the production proof.
If the bag will hold a heavier or unusually shaped item, send the product weight and dimensions rather than selecting the handle by appearance alone.
Plan artwork around folds and hardware
Keep important copy away from gusset folds, the base fold, handle holes and reinforcement areas. Supply vector artwork at finished scale with bleed and a clear front, back and side-panel layout.
Final checklist
- Width × gusset depth × height.
- Paper route and desired surface feel.
- Handle type, colour and attachment.
- Product weight and how it sits in the bag.
- Print colours, finish areas and artwork bleed.
- Packing and event or retail use.