
How it works / Sample Printing

Sample Printing

A physical sample helps check colour, opacity, texture, size and how the item behaves in its real setting.

Discuss this step
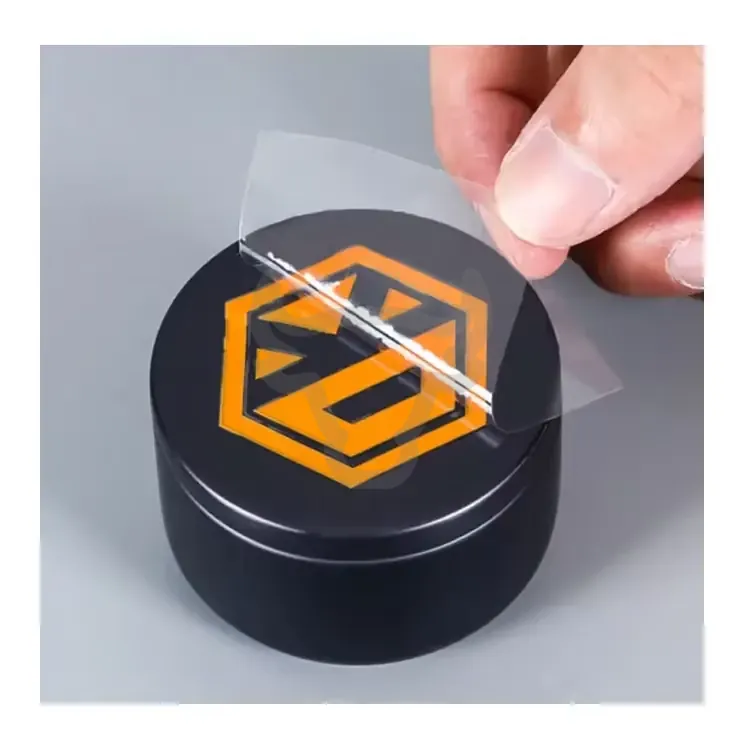
Finished raised sticker sample held in hand.

What it covers

What happens at this stage

01

Choose the risk

Identify the colour, material, fit or finish that needs physical confirmation.

02

Make the sample

Use the intended artwork and a representative material or construction.

03

Review in context

Check the sample on the real surface and under the expected lighting.

Prepare the project

What to send

Put these details in the first message so the production question is clear.

  • Final or near-final artwork
  • The intended surface or product photo
  • The detail that must be checked

A useful result

What should be clear afterwards

  • The sample has a named purpose
  • Review comments refer to the real use and lighting
  • Approval records the material, finish and artwork version

Avoid rework

What commonly slows this stage

  • Treating a screen preview as a material sample
  • Changing several variables without recording them
  • Approving appearance without checking fit or application

Next step

Bring the artwork and application together.

Print a single piece or small batch as a sample before committing to a production run.

Continue on WhatsApp